
Are you tired of coming home from your travels with lackluster photos that fail to capture the magic of your adventures? 📸✈️ We’ve all been there – struggling to immortalize those breathtaking landscapes, vibrant cultures, and unforgettable moments. But what if you could transform your travel snapshots into stunning visual stories that transport you back to those cherished experiences?
Imagine having the skills to create captivating images that not only impress your friends and family but also allow you to relive your journeys time and time again. Whether you’re an aspiring photographer or a seasoned traveler looking to up your game, mastering the art of travel photography can elevate your entire travel experience. From selecting the right gear to perfecting your composition and post-processing techniques, we’re about to embark on a journey that will revolutionize the way you capture your adventures.
In this comprehensive guide, we’ll explore essential photography gear, camera settings, composition techniques, lighting challenges, post-processing tips, and the art of storytelling through your lens. Get ready to unlock the secrets of travel photography and start creating images that truly do justice to your incredible experiences around the world. Let’s dive in and discover how you can become a master of travel photography!
Essential Photography Gear for Travelers
A. Choosing the right camera
When selecting a camera for travel photography, consider factors like size, weight, and versatility. Mirrorless cameras offer an excellent balance between performance and portability, making them ideal for travelers. DSLR cameras provide superior image quality but can be bulky. For casual photographers, advanced point-and-shoot cameras or smartphone cameras with multiple lenses can be suitable options.
| Camera Type | Pros | Cons |
|---|---|---|
| Mirrorless | Compact, lightweight, high-quality images | Shorter battery life |
| DSLR | Excellent image quality, wide lens selection | Bulky, heavy |
| Point-and-shoot | Ultra-portable, easy to use | Limited manual controls |
| Smartphone | Always with you, improving quality | Limited zoom, lower resolution |
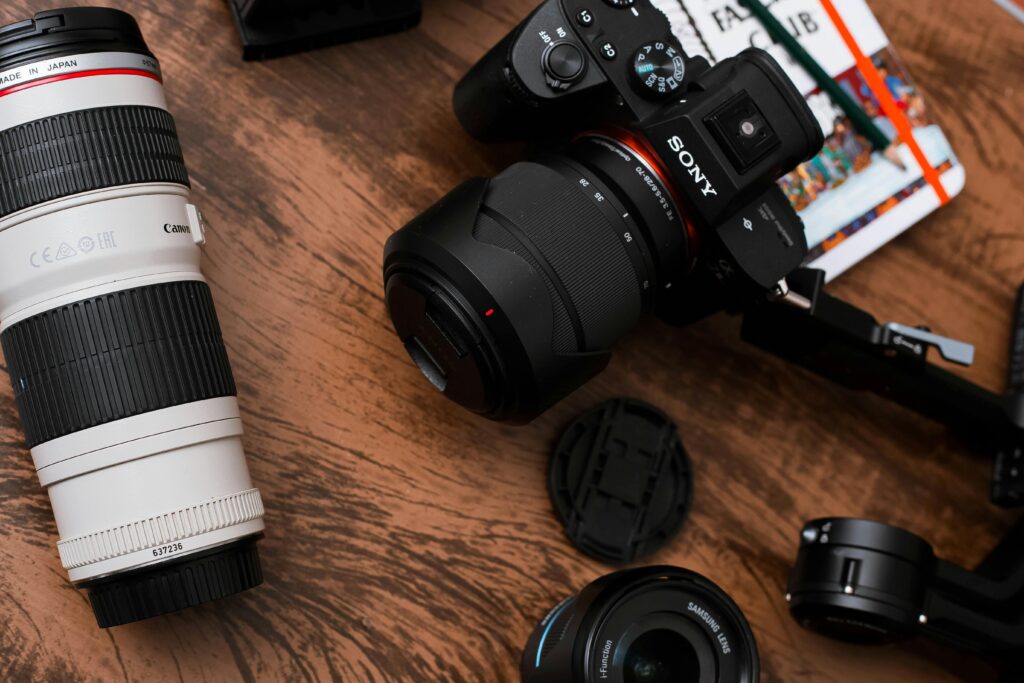
B. Must-have lenses for versatility
A versatile lens kit is crucial for capturing diverse travel scenes. Consider these essential lenses:
- Wide-angle lens (16-35mm): Perfect for landscapes and architecture
- Standard zoom lens (24-70mm): Ideal for everyday shots and portraits
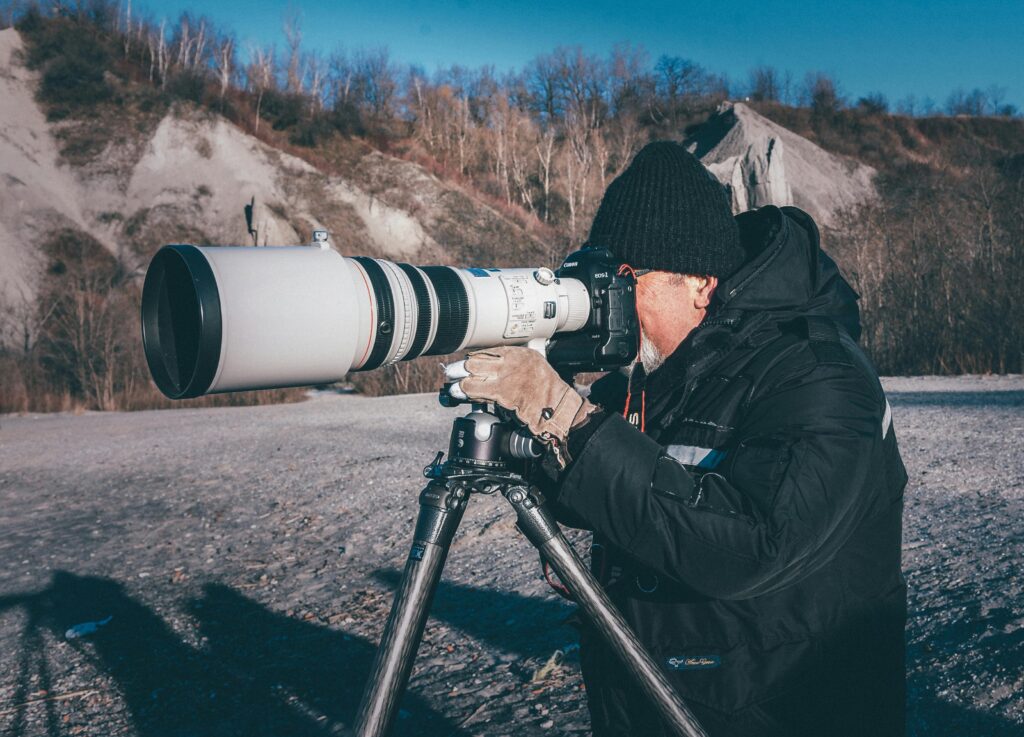
- Telephoto lens (70-200mm): Great for wildlife and distant subjects
C. Portable tripods and stabilizers
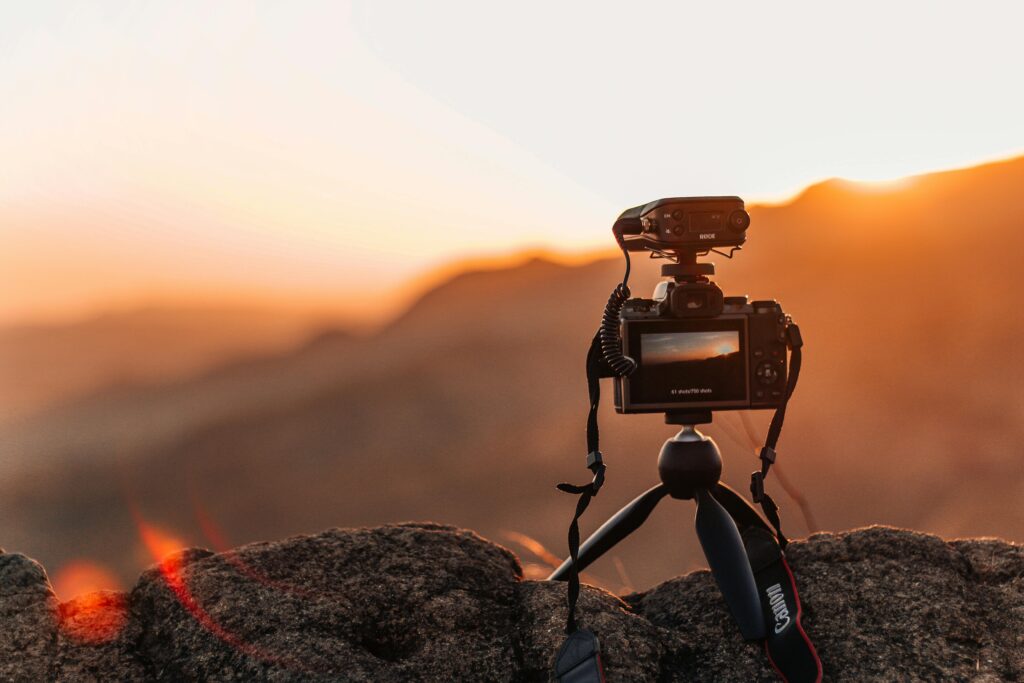
Stability is key for sharp images, especially in low light conditions. Pack a lightweight travel tripod or a compact tabletop tripod for added versatility. For video enthusiasts, consider a portable gimbal stabilizer to achieve smooth footage while on the move.
D. Memory cards and storage solutions
Ensure you have ample storage for your photos with these tips:
- Bring multiple high-capacity, high-speed memory cards
- Use a portable hard drive or SSD for backup
- Consider a cloud storage solution for additional security
With these essential gear items, you’ll be well-equipped to capture stunning travel photos. Next, we’ll explore how to master your camera settings to make the most of your equipment.
Mastering Camera Settings
Understanding exposure triangle
The exposure triangle is the foundation of photography, consisting of aperture, shutter speed, and ISO. Mastering these elements is crucial for capturing stunning travel photos.
- Aperture: Controls depth of field
- Shutter Speed: Affects motion blur
- ISO: Determines light sensitivity
To help you understand the relationship between these elements, consider the following table:
| Setting | Low Value | High Value |
|---|---|---|
| Aperture | f/16 (small opening, more in focus) | f/1.8 (large opening, less in focus) |
| Shutter Speed | 1/1000s (freezes motion) | 1s (captures motion blur) |
| ISO | 100 (less noise, darker image) | 3200 (more noise, brighter image) |
Selecting appropriate shooting modes
Choose the right mode based on your subject and desired outcome:
- Aperture Priority (A or Av): Control depth of field
- Shutter Priority (S or Tv): Freeze action or create motion blur
- Manual Mode (M): Full control over all settings
- Program Mode (P): Camera suggests optimal settings
Utilizing focus techniques
Enhance your travel photos with these focus techniques:
- Single-point AF: Precise focus on specific subjects
- Continuous AF: Track moving subjects
- Manual focus: Perfect for low-light or challenging situations
Adjusting white balance for different environments
Proper white balance ensures accurate color representation in various lighting conditions:
- Auto White Balance: Suitable for most situations
- Daylight: For outdoor scenes in sunlight
- Cloudy: Adds warmth to overcast conditions
- Tungsten: Corrects for indoor incandescent lighting
- Custom: Set manually for challenging light situations
Now that you’ve mastered camera settings, let’s explore composition techniques to elevate your travel photography to the next level.
Composition Techniques for Stunning Travel Photos
Rule of thirds and golden ratio
The rule of thirds and golden ratio are fundamental composition techniques that can dramatically improve your travel photography. To apply the rule of thirds, imagine dividing your frame into a 3×3 grid and placing key elements along these lines or at their intersections. The golden ratio, also known as the Fibonacci spiral, creates a visually pleasing balance in your images.
| Technique | Description | Best Used For |
|---|---|---|
| Rule of Thirds | Divide frame into 3×3 grid | Landscapes, portraits |
| Golden Ratio | Spiral pattern for balance | Architecture, nature |
Leading lines and framing
Utilize natural or man-made lines to guide the viewer’s eye through your image. Roads, rivers, or architectural elements can serve as powerful leading lines. Framing involves using foreground elements to create a natural border around your main subject, adding depth and context to your travel photos.
- Examples of leading lines:
- Winding mountain roads
- Railway tracks
- Coastlines
- Framing techniques:
- Archways
- Tree branches
- Windows or doorways
Capturing local culture and people
To truly capture the essence of your travels, focus on photographing local culture and people. Approach subjects respectfully and always ask for permission before taking photos. Look for candid moments that showcase daily life, traditional customs, or unique cultural elements.
Landscape photography tips
When photographing landscapes, consider the following:
- Use a wide-angle lens for expansive views
- Incorporate foreground elements for depth
- Shoot during golden hour for warm, soft light
- Experiment with long exposures for water or clouds
Creating depth in your images
To add a sense of depth to your travel photos, try these techniques:
- Use foreground, middle ground, and background elements
- Employ leading lines to draw the eye into the scene
- Utilize selective focus to emphasize certain parts of the image
- Experiment with different angles and perspectives
By mastering these composition techniques, you’ll be able to create stunning travel photos that truly capture the essence of your adventures. Next, we’ll explore how to tackle lighting challenges and find solutions to common issues you may encounter while photographing your travels.
Lighting Challenges and Solutions
Lighting is one of the most critical aspects of photography, and travel photography often presents unique lighting challenges. Here’s how to tackle them:
Golden Hour Magic
- Challenge: Harsh midday sunlight can create unflattering shadows and overexposed highlights.
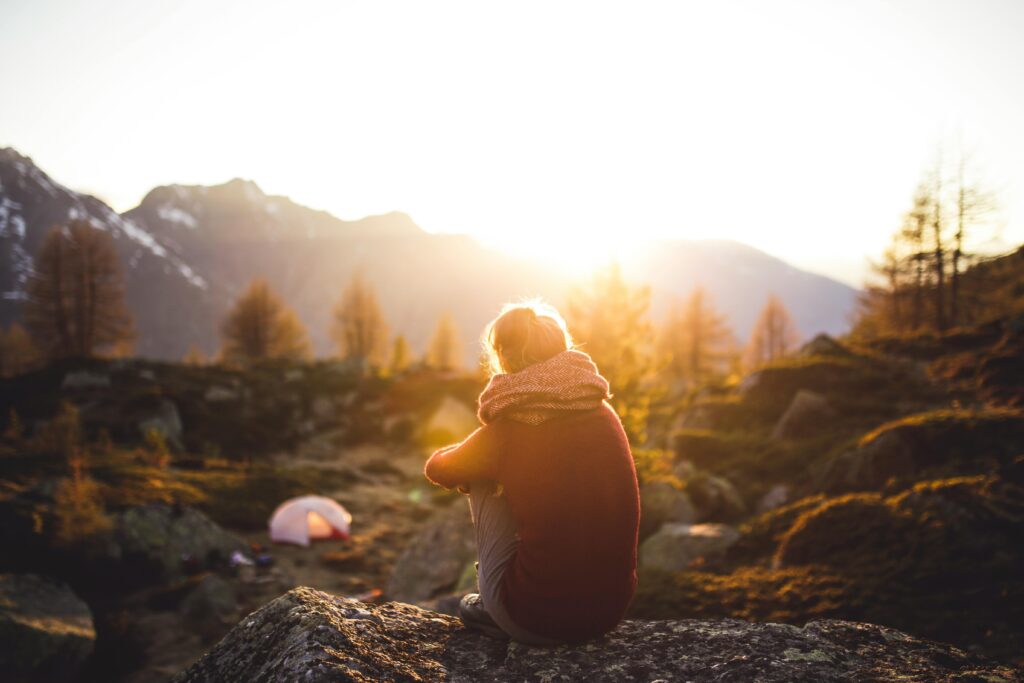
- Solution: Shoot during the golden hour (early morning or late afternoon) when the light is soft, warm, and directional. This creates a magical glow and enhances textures.
Dealing with Low Light
- Challenge: Indoor locations, night scenes, or overcast days can result in dark, grainy photos.
- Solution: Use a tripod to stabilize your camera for long exposures. Increase your ISO slightly, but avoid going too high to prevent noise. Shoot in RAW to retain details for post-processing.
Backlighting and Silhouettes
- Challenge: Shooting against the sun can cause your subject to be underexposed.
- Solution: Use backlighting creatively to create silhouettes. Meter for the sky to expose the background correctly, turning your subject into a striking dark figure.
Diffusing Harsh Light
- Challenge: Direct sunlight can create harsh shadows and blown-out highlights.
- Solution: Use natural diffusers like clouds or shoot in shaded areas. Alternatively, use a reflector or a piece of white cardboard to bounce light onto your subject.
Post-Processing Your Travel Photos
Post-processing is where your photos truly come to life. It’s not about altering reality but enhancing the story and mood of your images.
Shoot in RAW
- RAW files retain more detail and dynamic range, giving you greater flexibility in editing. Adjust exposure, shadows, and highlights without losing quality.
Basic Adjustments
- Exposure and Contrast: Correct underexposed or overexposed areas. Adjust contrast to make your images pop.
- White Balance: Ensure colors are accurate by adjusting the temperature and tint.
- Crop and Straighten: Remove distractions and align horizons for a cleaner composition.
Enhancing Colors
- Use vibrance and saturation sparingly to make colors pop without oversaturating.
- Adjust individual color channels (e.g., blues for skies, greens for foliage) to create a balanced and appealing look.
Adding Mood with Filters
- Apply subtle filters or presets to create a consistent mood across your travel album. For example, warm tones for sunny destinations or cool tones for winter landscapes.
Retouching
- Remove distractions like dust spots or unwanted objects using tools like the healing brush or clone stamp.
- Sharpen your images slightly to enhance details, especially for landscapes.
Storytelling Through Your Travel Photography
Great travel photography goes beyond pretty pictures—it tells a story. Here’s how to capture the essence of your journey:
Capture the Details
- Focus on small, unique elements that define a place: a local market’s spices, intricate architecture, or hands crafting traditional art. These details add depth to your story.
Include People
- Photograph locals going about their daily lives or fellow travelers experiencing the destination. Candid shots often convey more emotion than posed ones.
- Always ask for permission when photographing people, especially in culturally sensitive areas.
Show Scale and Context
- Use wide-angle shots to capture the grandeur of landscapes or cityscapes. Include a human element (e.g., a person standing in front of a mountain) to show scale.
Create a Narrative
- Think of your photos as chapters in a story. Start with wide shots to set the scene, then move to medium and close-up shots to highlight details and emotions.
- Capture the journey itself—airports, trains, or winding roads—to add context to your destination.
Use Leading Lines and Framing
- Use natural elements like roads, rivers, or arches to guide the viewer’s eye through the photo.
- Frame your subject with windows, doorways, or foliage to add depth and focus.
Capture Emotions and Moments
- Look for genuine emotions: laughter, concentration, or awe. These moments make your photos relatable and memorable.
Bonus Tips for Travel Photography
Backup Your Photos: Use cloud storage or external drives to protect your memories.
Pack Light but Smart: Bring versatile gear like a zoom lens or a prime lens with a wide aperture for low-light situations.
Research Your Destination: Learn about the best photo spots, local customs, and optimal times to shoot.
Be Patient: Wait for the right moment, whether it’s the perfect light or a candid interaction.